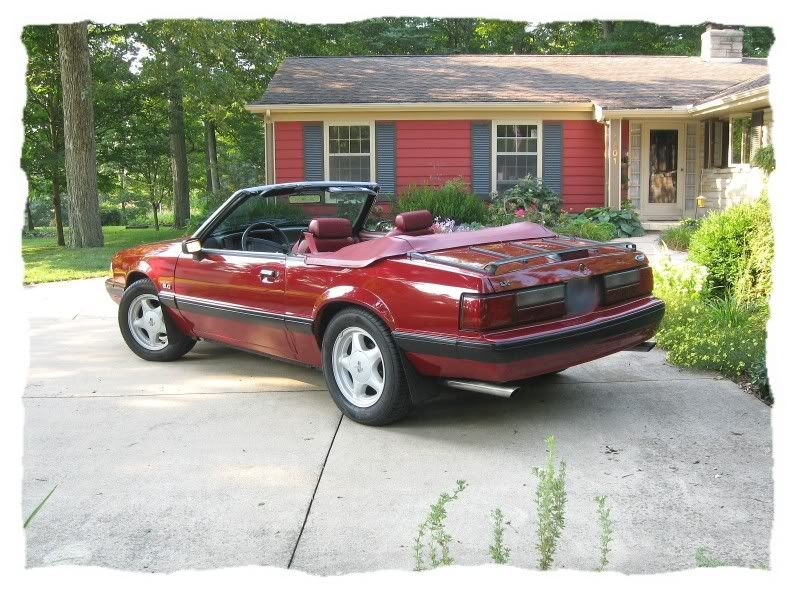
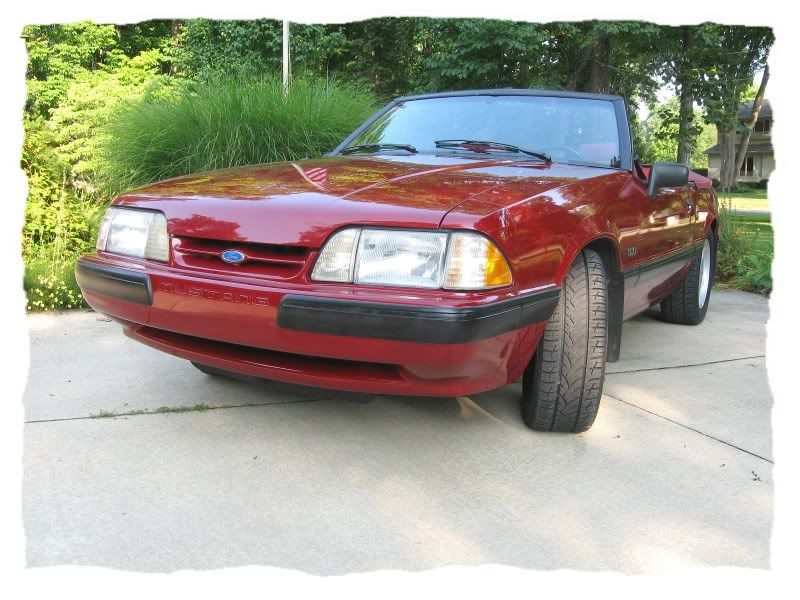
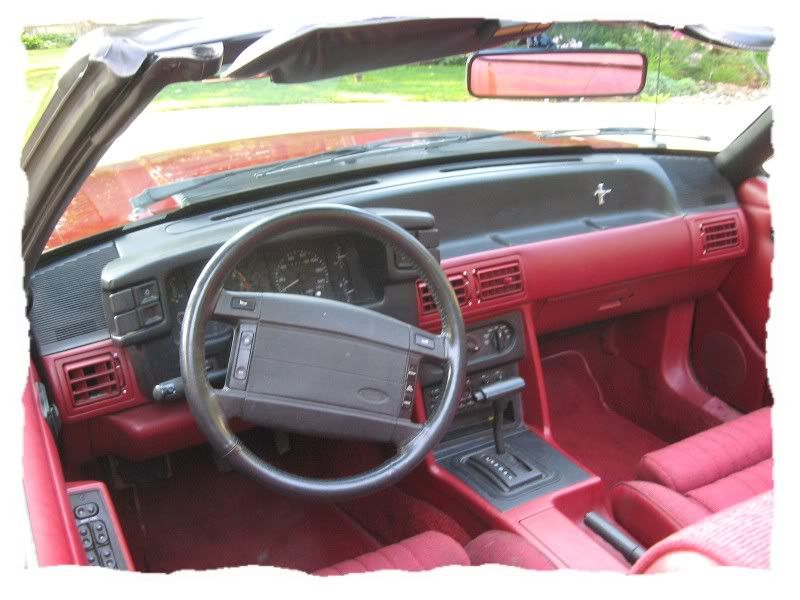
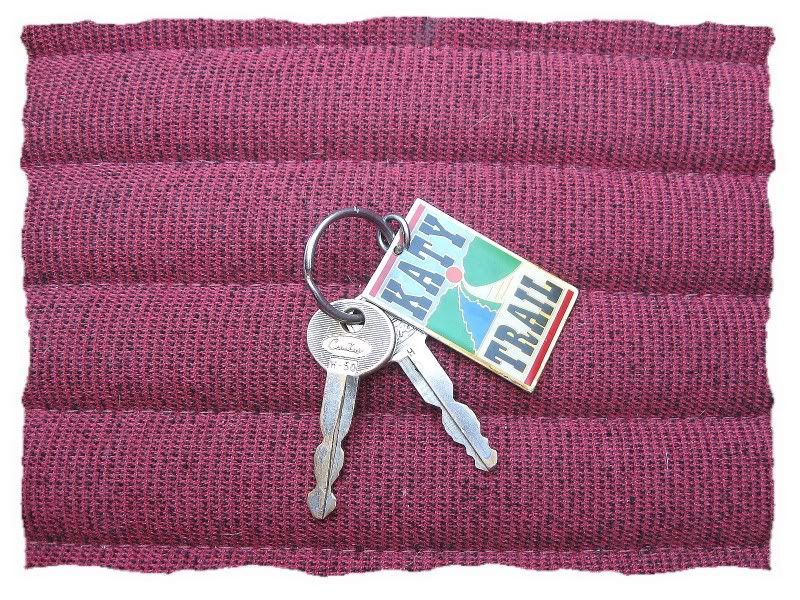
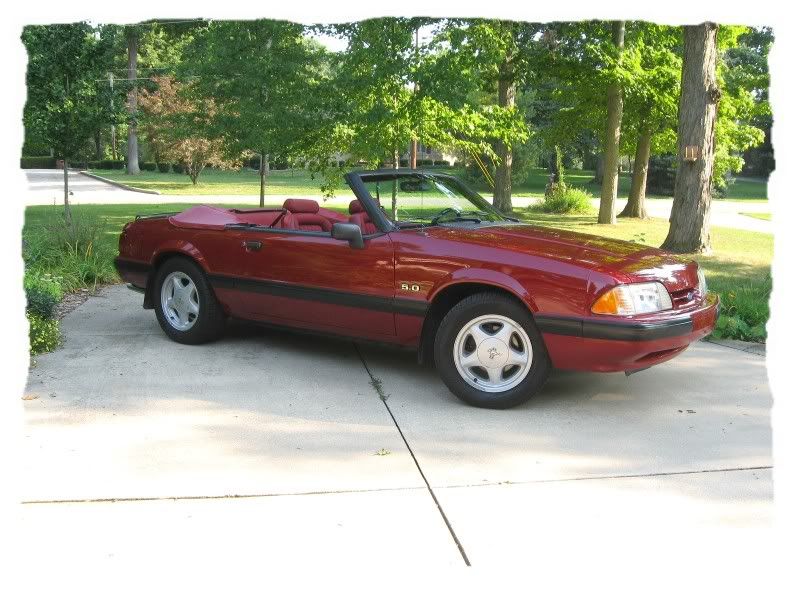
Can you truly love a car? "Ridiculous," you say. "Sinful, even." A car, after all, is a soulless collection of metal and glass, plastic and wire. Gasoline and oil are it's life's-blood...and it's heart is a man-made engine. There is no miracle here. Ah...but you don't know my Katy.
She's the car I've wanted since the 2nd grade. It was 1964...and my Dad...who would do just about anything to please his little girl...took me to the showroom to look at the brand-new Mustang. He realized that his 8-year-old would not be wise to the fact that we were visiting an out-of-town dealership...and not the local Ford store owner, who was a friend of his. He knew my obsession would fade away. And it did. But not completely.
My first car was a Mustang...a 1979 rust-colored, four-cylinder hatch-back. I bought it used and paid for it in cash. I regret that I don't have a picture. (Who doesn't take a picture of their first car!? Me, apparently.) I drove that car until 1991...when it's mounting repair bills forced me to admit it was time for a change. I needed a "practical car."
As I spoke to our local Ford dealer about yet another problem with my ride...he said, "We have a car here that you'd just love." I asked what it was. And he told me. "I can't afford it," I said. "You can come down and look at it," he said. So after work, as I pulled into the dealership...THIS is what I saw. Which...as everyone knows...is a Mustang's best side. I stepped out of my old car...and never drove it again. So much for a "practical car."
This coming Christmas Eve, we will be together 20 years. Aside from the usual maintenance issues and a transmission meltdown a couple of years ago...she's never given me a minute's trouble. She was on my first date with The Mailman...and went along on our honeymoon. She was a part of my Dad's funeral procession and our post-wedding parade. She's been to Key West...the Santa Monica Pier...and Cadillac Mountain, Maine. She's skirted the southern shore of Lake Superior and traveled the length of Route 66 and back again.
She is a part of me.
Until last week, I hadn't driven her at all this year...a worn-out alternator keeping her sidelined. TM (my hero, who can do just about anything) repaired her for me...and last Thursday, we hit the open road. Just she and I...together again. It was a beautiful day...the wind whipping my hair...her big V-8 purring along in overdrive. A group of highway workers paused to stare as we passed. That's my girl. That's my Katy.
Monday, August 29, 2011
Friday, August 26, 2011
Just Peachy!
Last Saturday...The Mailman and I...along with my Father-In-Law (a.k.a. The Big Guy)...made our annual peach-picking trip into Michigan. We made a day of it...with stops for breakfast, lunch and shopping (Joann's for me, Tractor Supply for the guys), as well. And between the three of us, we picked three bushels of peaches!
Now, if you have never eaten a ripe-from-the-tree Michigan Red Haven peach...so sorry for you. They are the BEST in the world (my apologies to Georgia). And peaches are my favorite fruit. So...I ate and ate and ate. I lost track of how many peaches I've yummed down in the past week. I know I shouldn't feel too guilty...I mean, they're PEACHES...not Ben and Jerry's, right? But those carbs still add up...and as a result, I've gained a couple of pounds. Not the direction I want to be going.
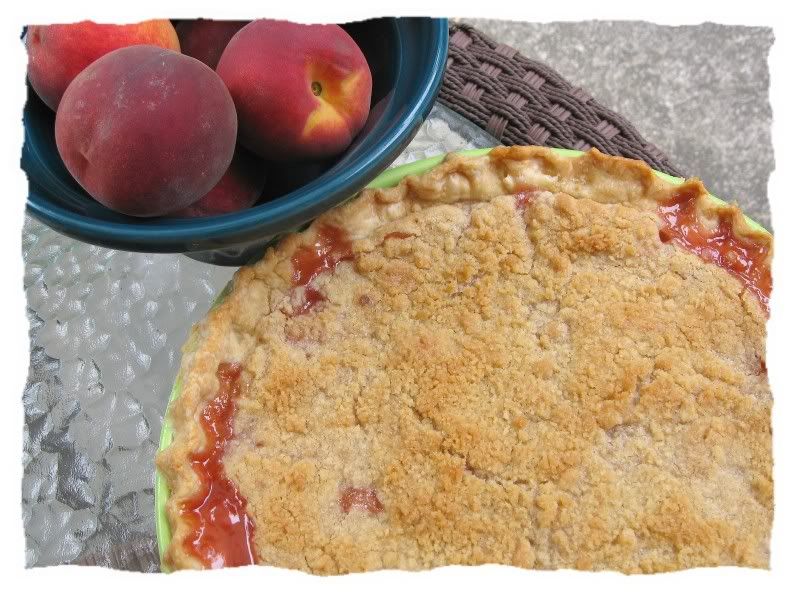
So...yesterday I froze the remaining fruit so that we can enjoy their deliciousness during the Winter. And, I made a pie. From my Mom's Modern Encyclopedia of Cooking, by Meta Given...circa 1959:
PEACH CRUMBLE PIE
Crumble:
3/4 cup all-purpose flour
1/3 cup moist light brown sugar, packed
1/3 cup firm butter
Filling:
1/4 cup sugar
1 to 1 1/2 tbsp flour (I used 1 tbsp cornstarch, because I like the juices to be clear.)
1 lb 14 oz ripe freestone peaches, peeled and sliced
4 to 5 drops almond extract
1/2 cup sugar
Pastry for 9-inch single crust pie
Adjust rack 5-6 inches from bottom of oven. Start oven 10 minutes before baking; set to moderately hot (425F).
Crumble: Blend flour and brown sugar in a bowl, add butter and cut in with pastry blender or 2 knives until particles are the size of peas. Chill until needed.
Pastry and Filling: Make pastry; roll out and line a 9-inch pie pan, fitting well into angles. Let rest 5 minutes, then trim off 1/2 inch beyond pan rim. Fold overhang under so fold is even with pan rim. Flute edges with fingers or crimp with tines of fork. Blend the 1/4 cup sugar with the flour (or cornstarch) and sprinkle over bottom of pastry. Turn prepared peaches into pastry-lined pan, leveling evenly. Sprinkle with almond extract, then with the 1/2 cup sugar, then with the crumble.
Bake 15 minutes, then reduce heat to moderate (350F) and bake 20 minutes longer. Remove to cake rack and cool 2-3 hours. Serve lukewarm or cold.
Makes 6 servings.
This pie was heavenly. I didn't weigh myself this morning...ignorance is bliss.

Labels:
What's Cookin'?
Wednesday, August 24, 2011
Sweet Straw Tote Redux
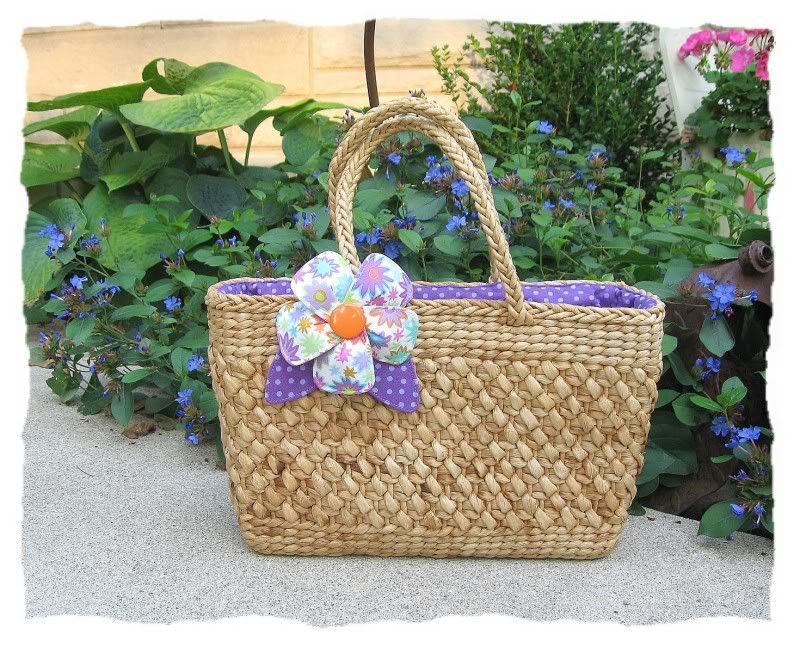
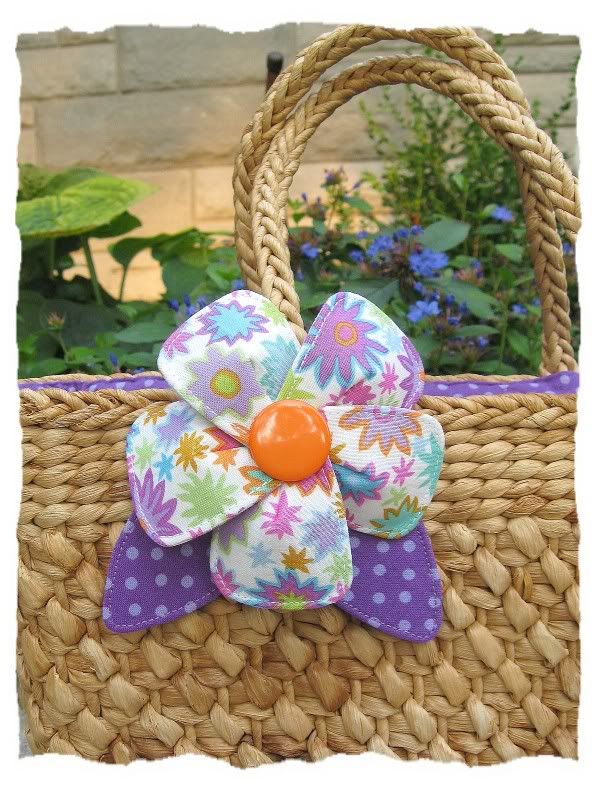
A few weeks ago, I became obsessed with straw totes. Blame it on the super-heated weather. In an effort to be frugal, I began searching the thrift stores...and I actually found TWO! The first one was perfect...HUGE, with a short handle...exactly what I wanted. The second was the little one you see here. Now, you're probably asking yourself, "If the first tote was so perfect, why is she blogging about the second one?" Well...let me give you some advice. Don't ever let your husband's bull-in-a-china-shop friend touch your stuff...especially a thrifted straw tote of undetermined age with an evidently not-so-sturdy handle. 'Nuff said.
Anyway...the second tote was quite a bit smaller...but for $1.75 at Goodwill, I just couldn't pass it up. So, it came home with me for a little facelift.
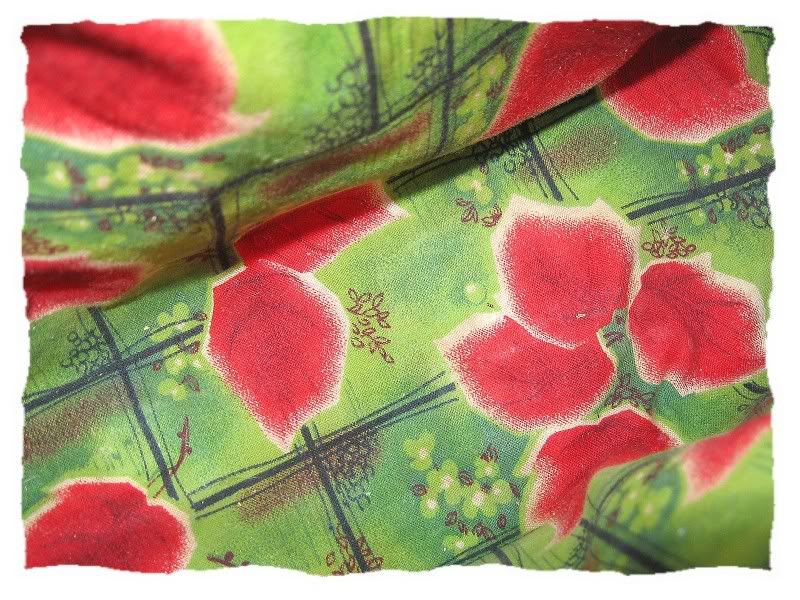
Inside, the odd red and green print lining reminded me of Christmas...not exactly the beachy, tropical look I was after...
...so I replaced it with violet and lavender polka dots. And since this tote has no closure, I added a little zippered pocket for an additional bit of security.
It needed some pizazz...and flower brooches are all the rage right now. This one is my own design, and I love the way it looks against the raffia/straw. It's on a pin-back...so it can be removed...but I have a feeling it's going to spend most of it's time right here.
All in all...a sweet little bag...for a couple of hours' work and very little deniro. Not my first choice, but I still like it. Oh...and TM's friend? I forgave him...but not right away. ;o)

Labels:
Sew what?
Saturday, August 13, 2011
Magic Beans
I have a confession to make. In spite of what I may have led you to believe, I have been...for most of my life, anyway...a disinterested vegetable gardener. Oh, I've always grown tomatoes...even when I was single...because my Dad always grew them and it just wouldn't be Summer without fresh tomatoes from the garden. And I always had a row or two of lettuce...and a few green beans. But...I HATE the heat of high Summer...and so by this time of the year, any veggies I had managed to grow had usually succumbed to the lack of attention. I would look after my flowers...but the veggies...meh.
However, in the past couple of years I've jumped on the home-grown bandwagon. And this year...since we've been following the Atkins eating plan, with it's HUGE emphasis on fresh vegetables...I decided to make a special effort to coddle the kitchen garden. I was especially pleased with my green beans...which kept me busy blanching and freezing through most of July. A couple of weeks ago, I noticed they were waning...the plants withering...and although they were still producing a few beans, they were quite small. My plan was to pull up the plants and replace them with a Fall crop of broccoli. Then we got slammed by the heat again...and since my broccoli seedlings were nowhere near ready for the garden, I procrastinated. Every time I went out to water the tomatoes and peppers, I would water the beans as well...because I felt sorry for them.
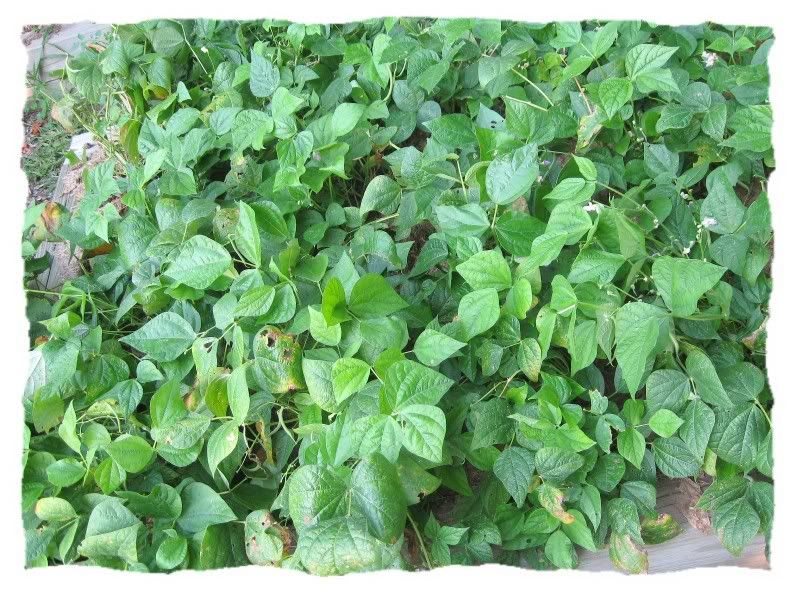
Well...a few days ago, I went out to the garden and was greeted by this:
The bean plants had come to life...with fresh new leaves...
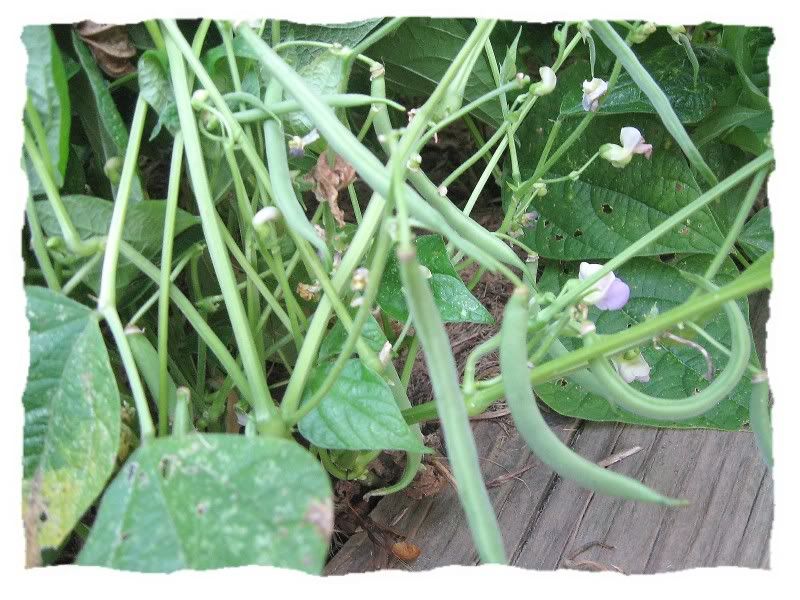
...and loads of blossoms and tender young beans underneath! I'll just bet you experienced gardeners out there are LOLing right now...but I had no idea green beans did this! We're having a Bean-O-Rama this year...TWICE!!
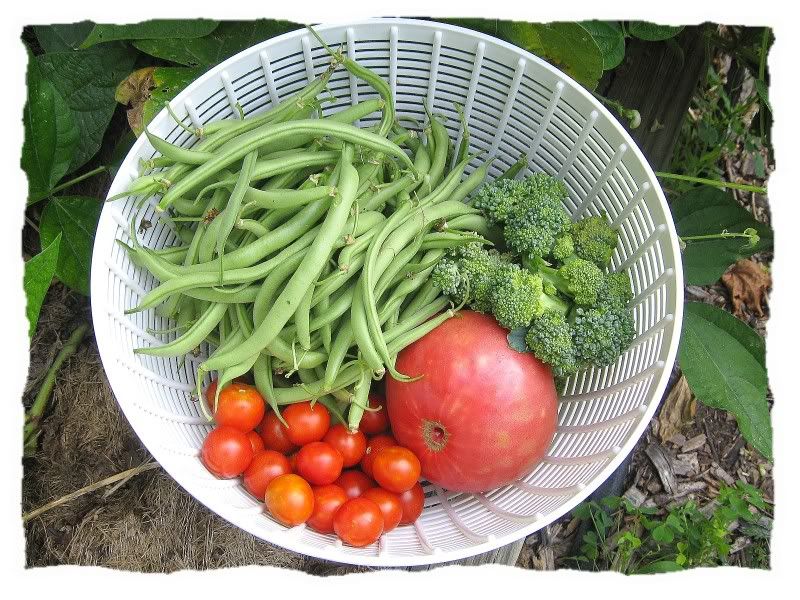
Here's the haul from this morning...cherry tomatoes, "Soldacki" Polish heirloom tomato, a big handful of broccoli shoots...and a whole bunch of green beans.
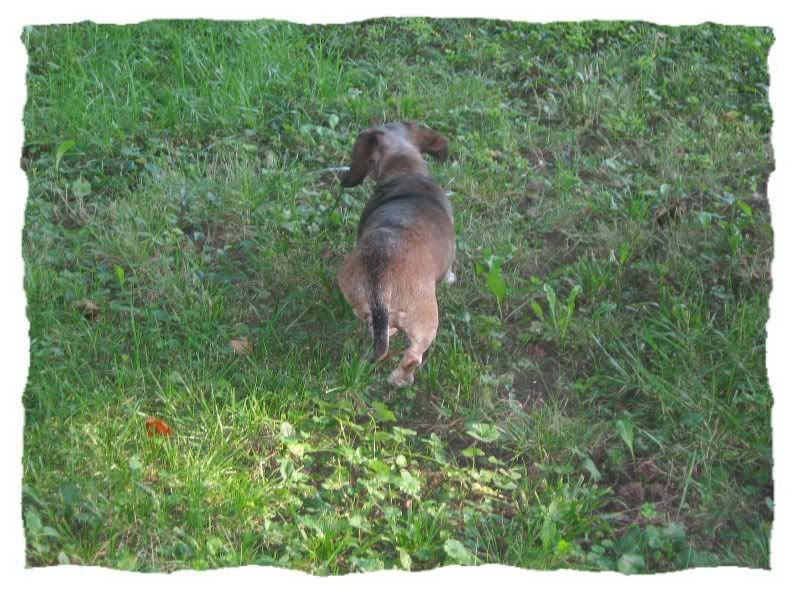
My camera-shy assistant, Sammy...leading the way back to the house. She had been posing adorably in the grass until she saw the camera in my hand. (Stinker!) She's the litter-mate to Bonnie and Clyde...and is my In-law's pupper. She spent the night here with her brother and sister...who chose to stay in bed while she and I made the rounds in the garden.
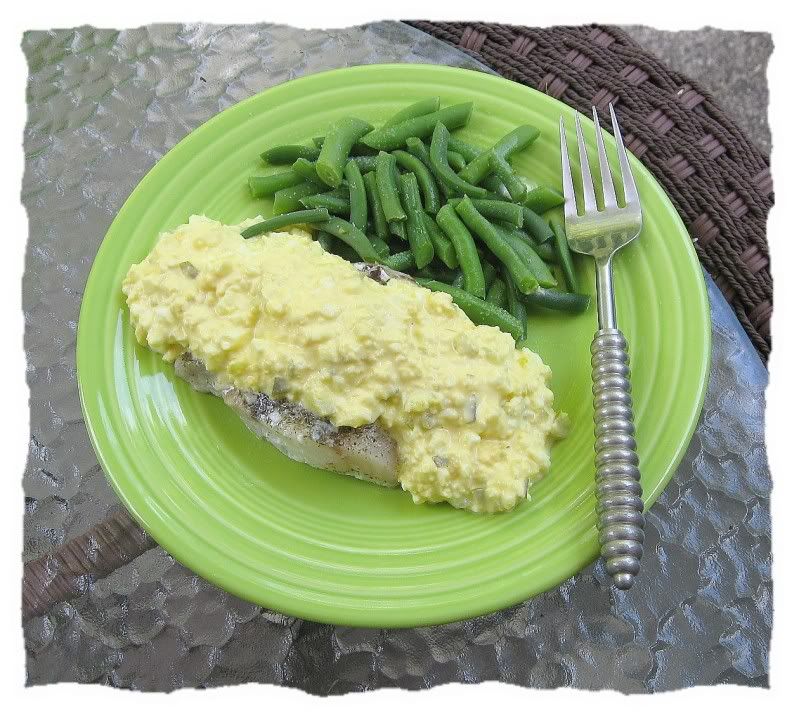
And here's my breakfast! Atkins advocates the incorporation of veggies into all meals...and encourages thinking outside the box...which can make for some unusual combinations. This morning, I had a lemon-butter Cod fillet (left over from last night)...topped with egg salad...with a side of freshly-picked green beans. And it was yummy!
Thank you for visiting with me today. I've been away from blogland for a bit and I've missed you! I hope you'll stop by again next week...as I hope to have some sewing projects to show you...and a post about my latest weekend getaway with The Mailman...as well as the continuation of our 2010 Scotland trip. We're going to Skye!

Labels:
Atkins,
What's Cookin'?,
What's Growing
Tuesday, August 2, 2011
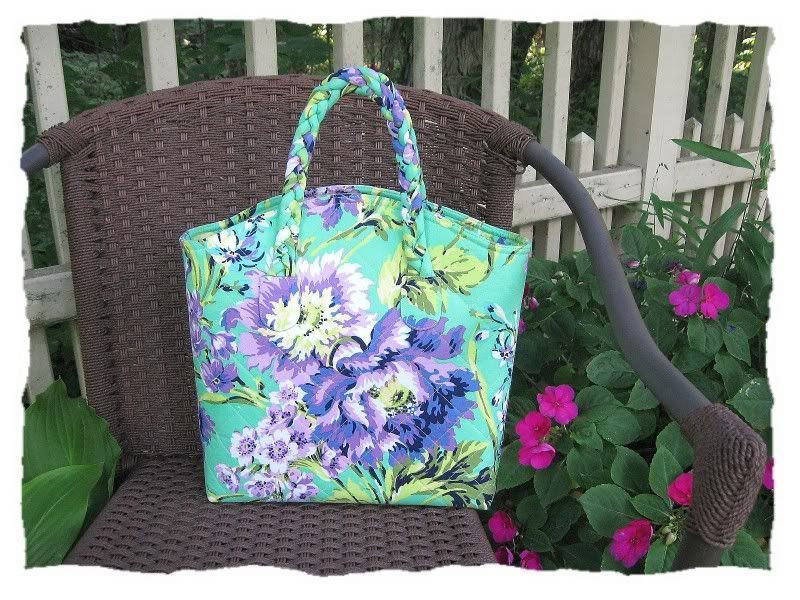
Braided Handle Tote Bag
Last year, I accompanied a friend to St. Charles, Illinois to pick up an eBay purchase. Of course, we HAD to shop while we were there. In one very high-end boutique, I stopped to admire an interesting Tote Bag. It had a curved top edge...and some amazing self-fabric handles...braided, they were. Now, when I'm out and about, I'm always on the lookout for ideas I can swipe inspiration for my sewing projects. And this bag intrigued me. So...I made a quick little sketch...filed it away in my billfold...and promptly forgot about it.
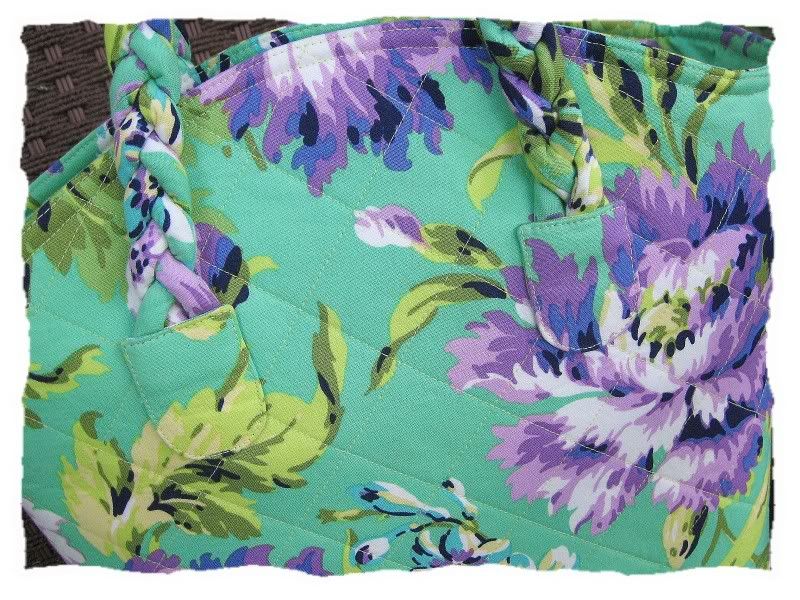
Then, a few months later...I found these gorgeous fabrics on sale at one of my favorite local quilt shops. They're from Amy Butler's LOVE collection...in my favorite color combo to wear...violet and green. (The green is showing up quite minty here...but it's actually more of a Jade-ite color...my camera does NOT like green.) I knew I wanted to make a bag, but I just couldn't come up with a design. I've made hundreds of Tote Bags in my "career" and I'd grown tired of the same ol' same ol'. Then, I remembered the Tote I had seen earlier...and decided I wanted to try to make one like it.
It took a little finagling to draft the pattern...several tries to get the curved top just right...and then there was the matter of how to attach the handles. But once I got things figured out, it went together quite smoothly...and I'm pretty pleased with the result.
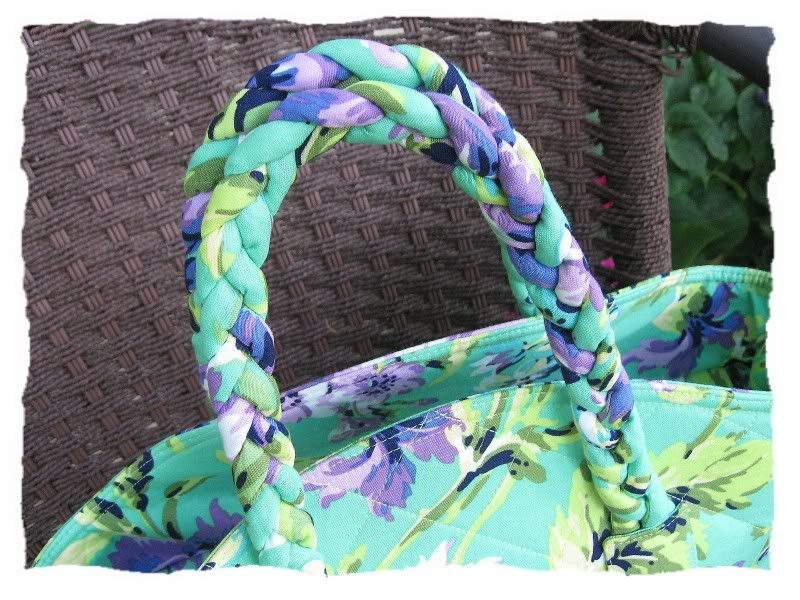
The handles are corded...and covered in bias fabric strips. I haven't done much of this...and had to keep referring to my trusty Singer sewing book to make sure I did it right. Even then, I had a few missteps along the way...like not cutting the cording long enough (it has to be TWICE the length of the finished handle, to allow for turning)...and sewing it to the wrong side of the fabric (twice).
I attached three cords to the bag on one side with three rows of stitching...braided them tightly around to the other side...stitched them down again...and repeated for the other handle. Then, I made little tabs to cover the unfinished ends and edge-stitched those in place. I tried to pattern-match as best I could...it's not spot-on...but it's close.
I machine-quilted the entire Tote with lime-green thread...for style and stability.
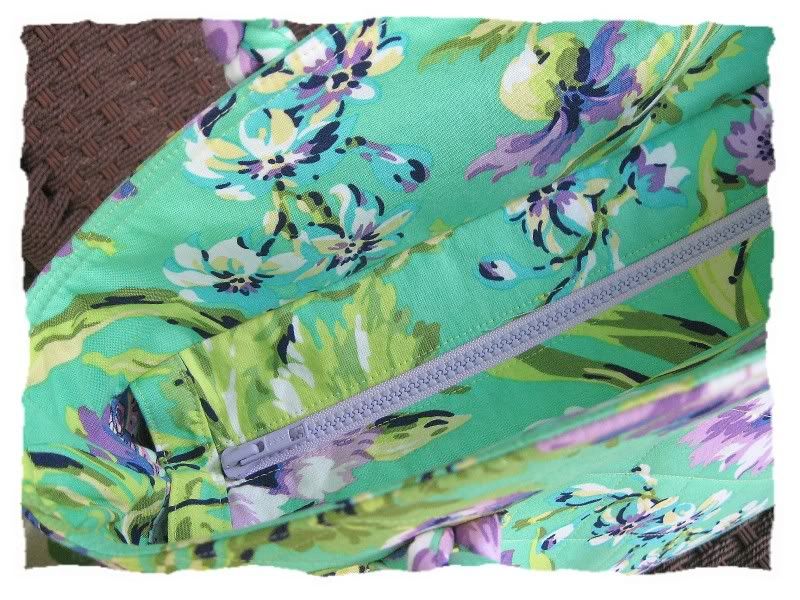
The closure is a recessed zipper. This is my own design...but I don't use it often because I'm such a zipper-phobe!
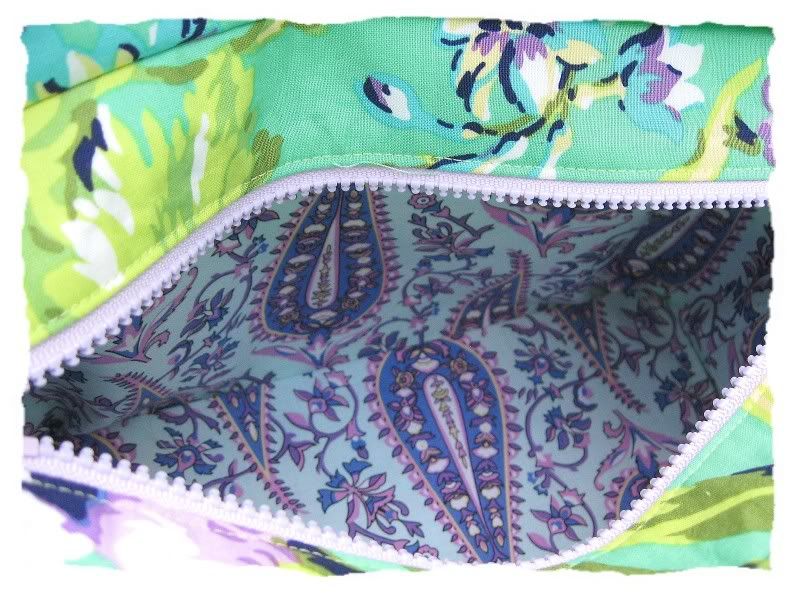
And inside...a pretty paisley lining. There are also three slip-in pockets and a hard plastic bottom insert to help the bag hold it's shape.
Kinda looks like "Jaws" here, doesn't it. I tell ya...it's HARD to photograph the inside of these things!
And there's my new Tote Bag! I'll be off shopping now!

Labels:
Sew what?
Subscribe to:
Comments (Atom)


